

Here’s the next in a series of simple tasty recipes which have been whipped up and presented to you by your chef lecturing colleagues here at the College.
This is Rufaro Saunyama’s bread recipe... which is also a good exercise workout during the kneading process!
Rufaro, said: “I have chosen to share a bread recipe. This is because once you can make it you can add ingredients for variation, use different flours to make different types of bread and the basic technique will remain the same. It’s that primitive thing like making a fire, once you can make bread you can feed yourself. Hope you enjoy making it.”
If you have a go at making Rufaro’s recipe, take a wee selfie with your finished dish and send it through to us on marketing@forthvalley.ac.uk
Simple White Bread Recipe
Ingredients:
• 500g/1lb 1oz strong white bread flour, plus a little extra flour for finishing
• 40g/1½oz soft butter/ margarine
• 12g/2 sachets fast-action dried yeast
• 2 tsp salt
• about 300ml/10¾fl oz tepid water (warm not cold – about body temperature)
• a little olive or sunflower oil
Method:
1. Put the flour into a large mixing bowl and add the butter. Add the yeast at one side of the bowl and add the salt at the other, otherwise the salt will kill the yeast. Stir all the ingredients with a spoon to combine.
2. Add half of the water and turn the mixture round with your fingers. Continue to add water a little at a time, combining well, until you’ve picked up all of the flour from the sides of the bowl. You may not need to add all of the water, or you may need to add a little more – you want a dough that is well combined and soft, but not sticky or soggy. Mix with your fingers to make sure all of the ingredients are combined and use the mixture to clean the inside of the bowl. Keep going until the mixture forms a rough dough.
3. Use about a teaspoon of oil to lightly grease a clean work surface (using oil instead of flour will keep the texture of the dough consistent). Turn out your dough onto the greased work surface.
4. Knead the dough for approximately 10 minutes until the dough is stretchy.
5. Work quickly so that the mixture doesn’t stick to your hands – if it does get too sticky you can add a little flour to your hands.
6. Clean and lightly oil your mixing bowl and put the dough back into it. Cover with a damp tea towel or lightly oiled cling film and set it aside to prove for about an hour. The dough should double in size (don’t put the bowl in a hot place or the yeast will work too quickly).
7. Line a baking tray with baking or silicone paper (not greaseproof).
8. Once the dough has doubled in size scrape it out of the bowl to shape it. The texture should be bouncy and shiny. Turn it out onto a lightly floured surface and knock it back by kneading it firmly to 'knock' out the air.
9. Place the loaf onto the lined baking tray, cover with a tea towel or lightly oiled cling film and leave to prove until it’s doubled in size. This will take about an hour, but may be quicker or slower depending on how warm your kitchen is.
10. Preheat the oven to 220C (200C fan assisted)/425F/Gas 7. Put an old, empty roasting tin into the bottom of the oven.
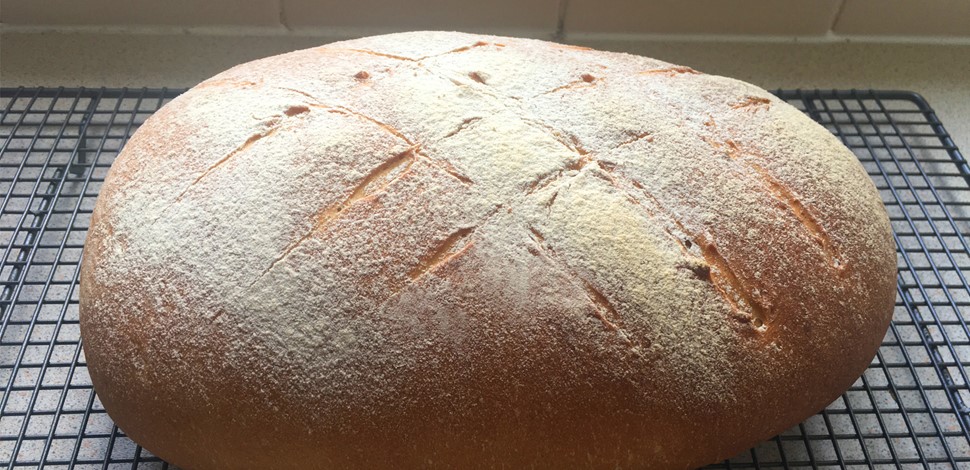
11. After an hour the loaf should have proved (risen again). Sprinkle some flour on top and very gently rub it in. Use a large, sharp knife to make shallow cuts (about 1cm/½in deep) across the top of the loaf to create a diamond pattern.
12. Put the loaf (on its baking tray) into the middle of the oven. Pour cold water into the empty roasting tray at the bottom of the oven just before you shut the door – this creates steam which helps the loaf develop a crisp and shiny crust.
13. Bake the loaf for about 30 minutes.
14. The loaf is cooked when it’s risen and golden. To check, take it out of the oven and tap it gently underneath – it should sound hollow. Turn onto a wire rack to cool.